

Supports All Educators
Data shows an increase in overall job satisfaction when educators are equipped with QuaverEd products.
“I absolutely love Quaver. It has refreshed my passion for teaching music. I am a 27-year veteran teacher, but using this website has made me reconsider when I will retire.”
– Granita Richardson, Orangeburg, SC


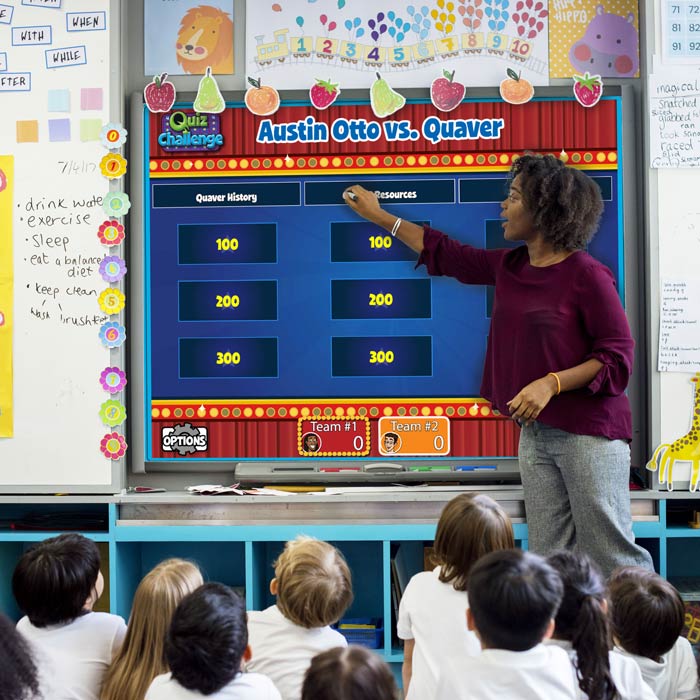
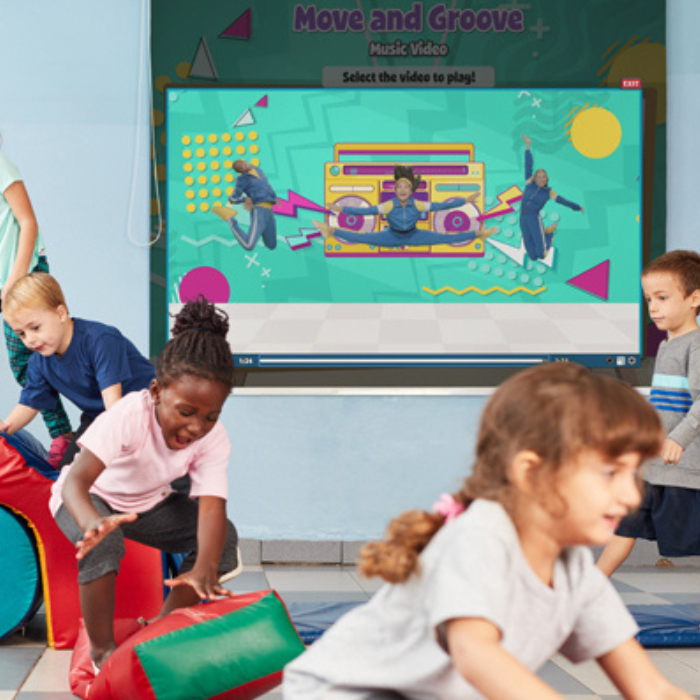
Engages All Students
Our programs are packed with interactivity, movement, modern and traditional music, humor, and energy. QuaverEd’s music-based learning approach engages students, increases retention, and encourages life-long learning.
| Rating | Ease of Use | Coverage of Standards | Impact on Job Satisfaction | Impact on Lesson Planning |
|---|---|---|---|---|
| Excellent | 55 | 55 | 55 | 65 |
| Very Good | 35 | 33 | 30 | 20 |
| Good | 8 | 9 | 11 | 10 |
| Combined | 98 | 97 | 96 | 95 |
| Rating | Retention of Concepts | Assessment Performance | Student Engagement | Exceptional Students |
|---|---|---|---|---|
| Excellent | 30 | 15 | 40 | 45 |
| Very Good | 40 | 50 | 40 | 35 |
| Good | 27 | 31 | 16 | 16 |
| Combined | 97 | 96 | 96 | 96 |
World Class Support for Educators
Customer Service
Our Customer Support Team is dedicated to providing quick and helpful information via phone, email, and social media.
QuaverPLC
Our expert trainers and coaches provide extensive curriculum training and professional learning. With opportunities throughout the year, today’s educators can learn at their own pace.
District IT Support
QuaverEd integrates with prominent EdTech tools and management systems. Our team will find the best way to integrate Quaver products into your existing infrastructure.
Our Reach

Start your Quaver Journey!
Get full access to any QuaverEd product free for 30 days!
Explore your purchasing options!
Join us for a short demo of Quaver products.