QuaverEd supports both LTI 1.3 and LTI 1.1 integrations. The sections below include instructions for setting up either integration.
LTI 1.3 Single Sign-On (SSO) Setup
This section is directed toward IT administrators looking to set up LTI 1.3 SSO access to QuaverEd’s resources for their district.
Step 1: Provide configuration details
To configure the integration on our end, we will need the following information:
- Key LTI Parameter – All districts performing an LTI SSO integration with QuaverEd must send at least one LTI parameter that uniquely identifies the user. Examples include: user_id, lis_sourcedId_id, etc.
- URL/Domain of Learning Management System – This will allow our system to recognize incoming SSO requests from your district. Example: “district.yourlms.org”
- Issuer (iss) Value – Example: “https://district.yourlms.org”
- OIDC Auth URL – Example: “https://district.yourlms.org/ltitool/oidcauthurl.html”
- Platform Well-Known/JWKS URL – Example: “https://oauth2server.yourlms.org/jwks”
- Additional LTI 1.3 Services – Please let us know all of the additional LTI 1.3 services you plan to utilize with LTI 1.3 SSO:
- Rostering
- Gradebook Passback
Step 2: Configure Tool in your Learning Management System (LMS)
Please insert the values below for the Tool setup:
| OpenID Connect Initiation URL | https://sso.quavered.com/lti1p3login |
| Redirect URIs, Target Link URI | https://sso.quavered.com/LTI1p3LoginHandler/index.html |
| Public JWK URL | https://sso.quavered.com/lti1p3keys |
Step 3: Testing
Once the configuration is completed, we ask that the district test the integration by having a QuaverEd teacher log in using the SSO link. If the teacher can log in to QuaverEd successfully, we will consider the integration ready for district-wide release.
What defines a successful SSO login?
When users log into QuaverEd.com via SSO for the first time, they should see our account provisioning page. This process will allow users to link their SSO accounts with existing QuaverEd accounts or to have a new account provisioned automatically. This choice is crucial for QuaverEd teachers who may have content licenses attached to their pre-existing QuaverEd accounts. Users will only have to provision their accounts the first time they log in to QuaverEd using SSO, and after that, logging in to QuaverEd via SSO will take them directly to the program with the chosen account.
If a user attempts to log in to QuaverEd.com and gets a blank page or any other error, this indicates an issue with the SSO configuration. Please report any problems or concerns so we can address them.
Step 4: Release
Once we have confirmed that a teacher has successfully logged into QuaverEd.com via the SSO link, you can launch the SSO functionality district-wide. You should notify your QuaverEd users when the functionality becomes available, and you are responsible for training your users on how to access QuaverEd from your district’s system. Please share our account provisioning instructions with your district’s users to help them transition into using SSO to access QuaverEd.
Step 5: Support
QuaverEd will continue to support the SSO integration with your district throughout our contract term. We are committed to providing responsive support for our SSO integrations and will work with you to resolve any issues. If you need to alter your district’s SSO configuration, please notify us (integration@quavered.com) before making any changes so that we can provide uninterrupted access for your QuaverEd users.
LTI 1.1 Single Sign-On (SSO) Setup
This section is directed toward IT administrators looking to set up LTI 1.1 SSO access to QuaverEd’s resources for their district.
Step 1: Identify key LTI parameters and URL/domain of your Learning Management System (LMS)
All districts performing an LTI SSO integration with QuaverEd must send at least one LTI parameter that uniquely identifies the user.
QuaverEd will configure our systems according to the parameters identified by the district. You will also need to identify the URL/domain of your Learning Management System (ex: district.yourlms.org). This will allow our system to recognize incoming SSO requests from your district.
Step 2: Install key, secret, and host
QuaverEd will generate a key, secret, and host link for your district’s integration and deliver these values to you via email. You will need to install these values in your configuration. You should use the host link as the SSO launch link.
Step 3: Testing
Once QuaverEd has confirmed that the configuration is working as expected, we ask that the district test the integration in the live environment by having a QuaverEd teacher log in using the SSO link. If the teacher can log in to QuaverEd successfully, we will consider the integration ready for district-wide release.
What defines a successful SSO login?
When users log into QuaverEd.com via SSO for the first time, they should see our account provisioning page. This page allows users to link their SSO accounts with existing QuaverEd accounts or to have a new account provisioned automatically. This choice is crucial for QuaverEd teachers who may have content licenses attached to their pre-existing QuaverEd accounts. Users will only have to provision their accounts the first time they log into QuaverEd using SSO, and after that, logging into QuaverEd via SSO will take them directly to the program with the chosen account.
If a user attempts to log into QuaverEd.com and gets a blank page or any other error, this indicates an issue with the SSO configuration. Please report any problems or concerns so we can address them.
Step 4: Release
Once we have confirmed that a teacher has successfully logged into QuaverEd.com via the SSO link, you can launch the SSO functionality district-wide. You should notify your QuaverEd users when the functionality becomes available, and you are responsible for training your users on how to access QuaverEd from your district’s system. Please share our account provisioning instructions with your district’s users to help them transition into using SSO to access QuaverEd.
Step 5: Support
QuaverEd will continue to support the SSO integration with your district throughout our contract term. We are committed to providing responsive support for our SSO integrations and will work with you to resolve any issues. If you need to alter your district’s SSO configuration, please notify us (integration@quavered.com) before making any changes so that we can provide uninterrupted access for your QuaverEd users.
How to Access QuaverEd using LTI SSO
This section is directed toward teachers and students in districts with LTISSO integrations with QuaverEd. Your district IT administrator must first set up the LTISSO integration with QuaverEd.
- This page is essential! If this is your first time logging in to QuaverEd from your Learning Management System (LMS), you’ll likely see our Single Sign-On account provisioning page.
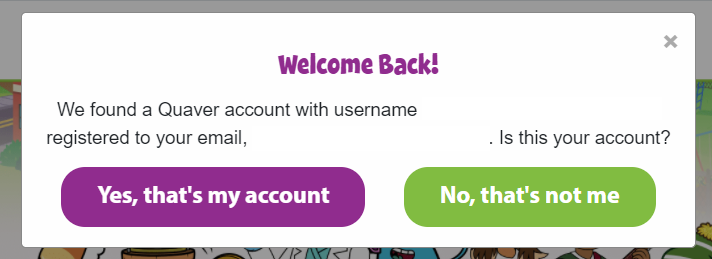
If we find an existing QuaverEd account associated with your email address, you will see the message seen to the right.
Select Yes, that’s my account to link to that QuaverEd account. Select No, that’s not me if you’d like to connect a different QuaverEd account.
2. If you have created a QuaverEd account before, select Link existing QuaverEd Account.
If you do not have a QuaverEd account, select Create new QuaverEd Account.

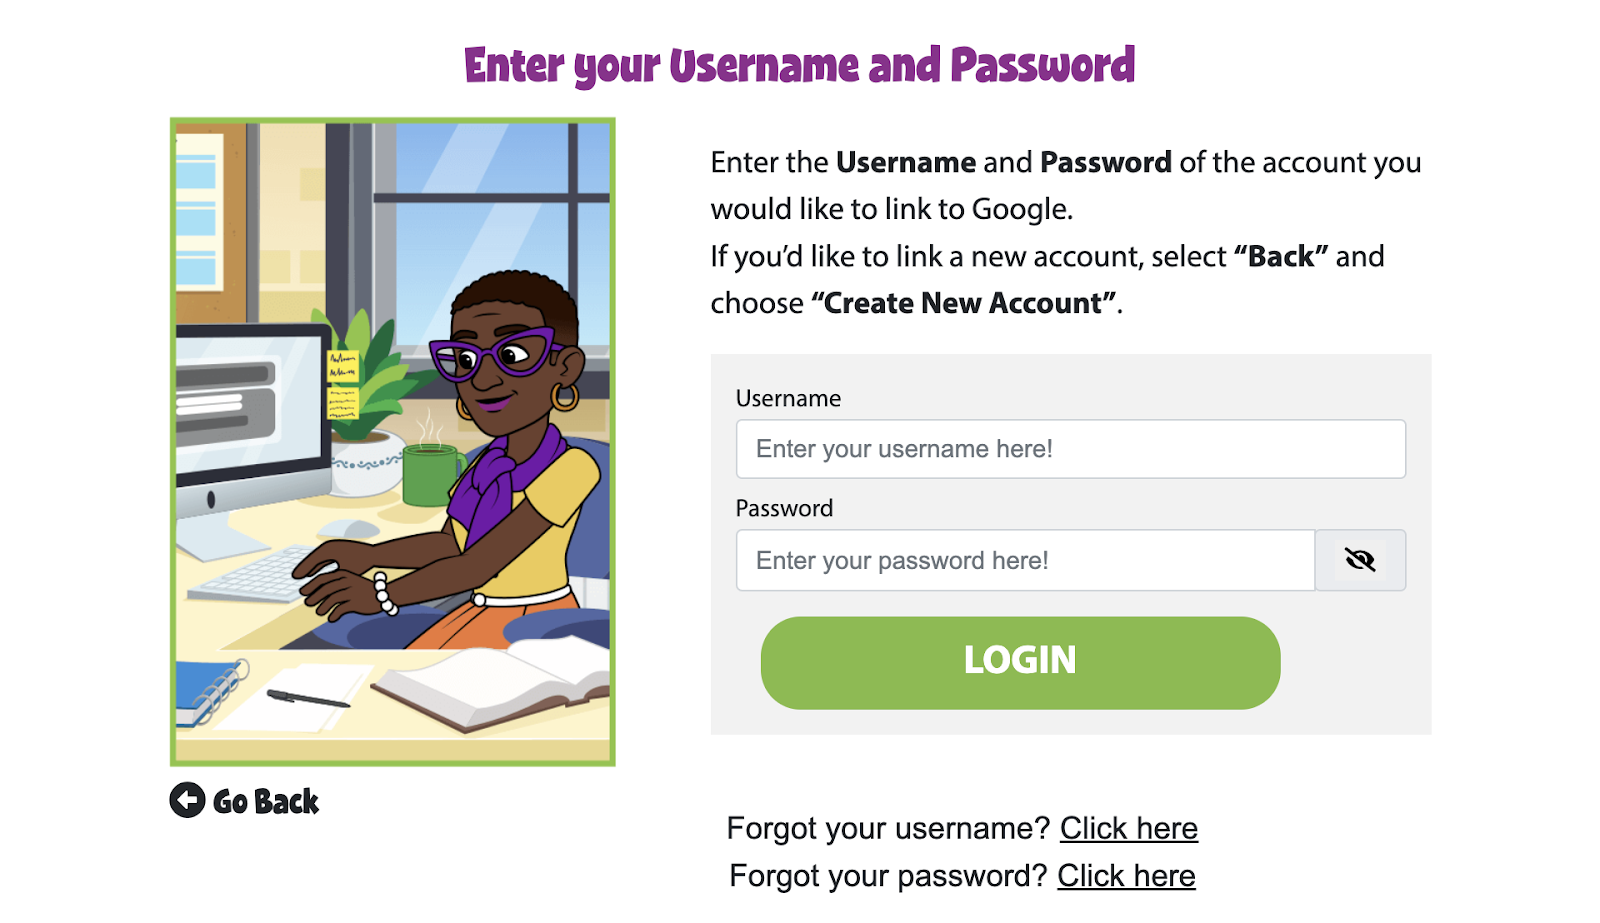
3. Enter your QuaverEd username and password and click LOGIN to link your LMS account to your existing QuaverEd account.
If you have never made a QuaverEd account before, select Go Back and select Create new QuaverEd Account on step 2.
4. Depending on the type of account you’re using, you will land at one of the following places…
Teacher Dashboard

You will land here if your SSO is linked to an active QuaverEd teacher account.
Student Dashboard

If your SSO is linked to an active student account enrolled in a QuaverEd class, you will land here.
How To Sync GradeBooks Using LTI 1.3
This section is directed toward teachers in districts with LTI 1.3 Gradebook Passback configured with QuaverEd. Your district IT administrator must set up an LTI 1.3 SSO integration with QuaverEd and request Gradebook Passback be enabled, following the instructions above.
1. In your LMS (e.g. Schoology, Canvas, etc), navigate into the class that you would like to sync gradebooks with.
*Note: The class you wish to sync gradebooks with must also be an active rostered class present in your QuaverEd GradeBook (provided by your district’s nightly roster sync).
2. While in the class, launch the QuaverEd LTI 1.3 tool. This opens a pathway that lets QuaverEd automatically sync grades back into the LMS for that class.
3. Once this is done, grades will sync nightly from the QuaverEd class into the LMS. You can also trigger a manual sync of the GradeBook at any time by launching the LTI 1.3 tool from inside the LMS class again.